A Lemony Breakfast Imposter

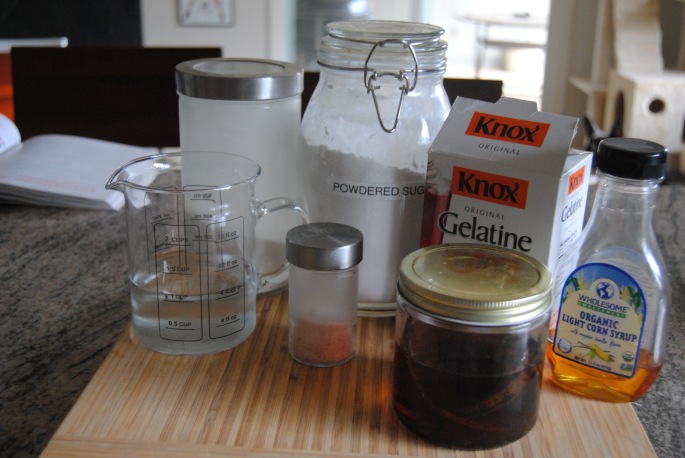
Welcome to March friends. The year is just moving on by and it is time for another Cooking with Scott. I am all refreshed after a fun trip to Emerald City Comic Con up in Seattle and ready to bake. This week’s recipe takes me well beyond my comfort zone. I have never made a custard or meringue before but was more than willing to give it a shot for Sunny- Side-Up Meringues.
I recommend cranking out the custard first so it has enough time to cool down. For this I just headed out too my front yard, grabbed some lemons off my tree and set to work. DSC_0001.JPGMake sure to zest your lemons before juicing. Zesting is a fine skill, make sure you don’t go to deep and get the white underneath the delicious zest.DSC_0002.JPG
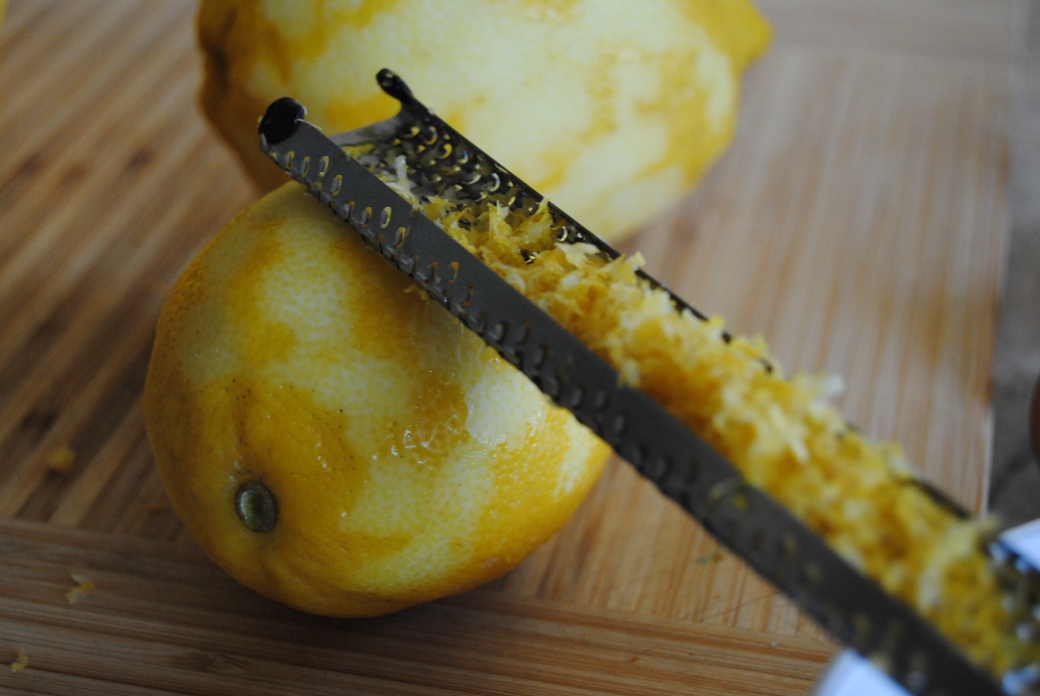
You are going to squish you sugar and zest together to really get that sugar flavored in the saucepan. Add in you eggs while whisking and make sure everything is properly mixed.

Then throw in your butter, juice, heat, and keep stirring. This should take about 8 minutes.

Once you see a bubble take it off and transfer it to a heat proof bowl covering the top with plastic. Set it aside and get set for the meringue.
To start make sure everything is super clean or this won’t work right. For the egg whites I just went out to my chicken coop and grabbed fresh eggs to use. I am a huge fan of homegrown things, it just makes cooking way more fun.
In my KitchenAid stand mixer with whisk attachment I beat the egg whites on medium high. After about three minuets I then began to add the sugar one small spoonful at a time till gone (about 4 minutes).

Now you can use vanilla but having lemon extract on hand I decided to add that instead. This mixture spent just about 9 minuets total in the stand mixer. You’ll notice the peaks are super firm and even stick to the whisk and that is ok.DSC_0012
Now its time to scoop. Not having a large cookie scoop I just used an ice cream scoop and small spoon to shape the meringues on the cookie sheet. Once all laid out I wet my thumb and created a crater in the center for the lemon curd I made.DSC_0014.JPG
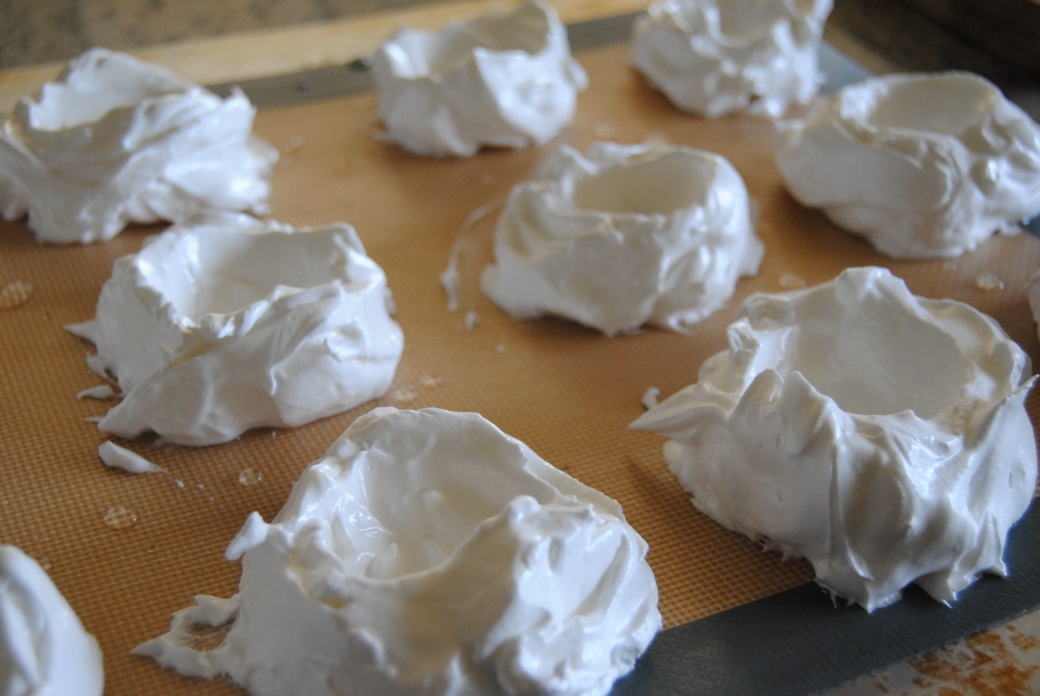
The recipe says to bake at 250 but I went with 240 just to avoid over browning the meringue. After a little over an hour of baking I shut the stove off and cracked the stove door leaving the meringues in for another 2 hours.
With the meringues all done. I simply removed one from the sheet. (If it doesn’t come off easily let it sit in the oven a little longer.) I then added my now chilled custard and consumed.DSC_0016.JPG
These cookies are delicious. They are the right amount of sweet and tart with the custard and the meringue is stiff and flaky with a nice lemony flavor.DSC_0017.JPG
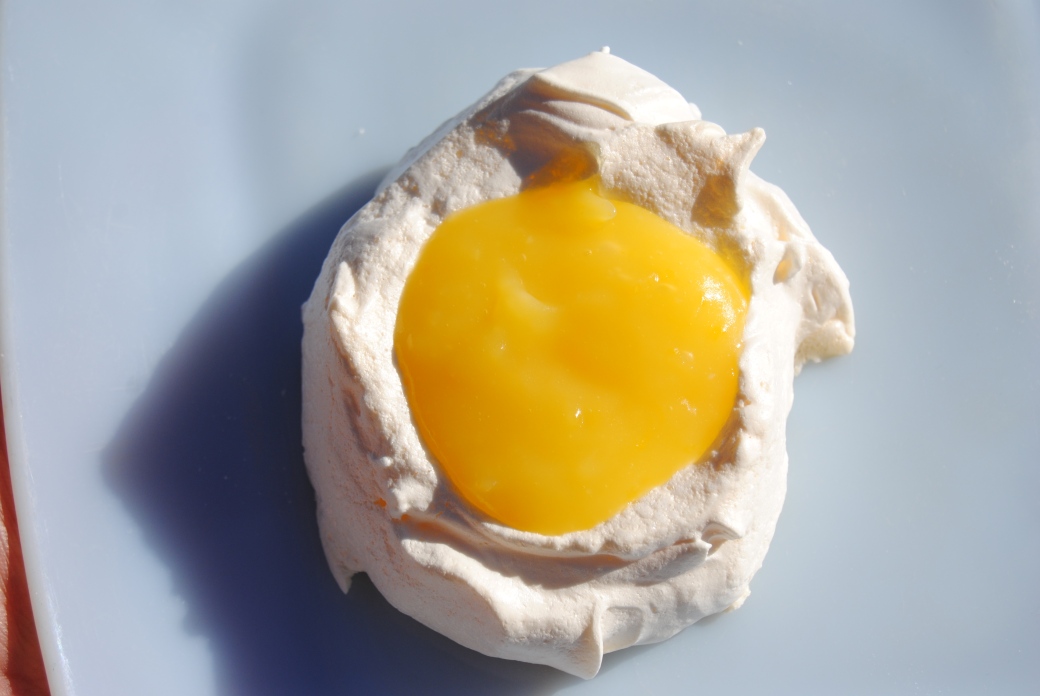
Well that’s it for this week’s Cooking with Scott. New recipes are on the horizon, until then enjoys this delicious treat with your friends and family. If you would like the full recipe go to doriegreenspan.com and look under #cookieandkindness, or even better grab a copy of the book turn to any page and start your own cookie journey with us on Tuesdays with Dorie. I am getting hungry as always, so until next time.

The Bee’s Knees of Bisciuts

Here we are at almost the end of February, means spring is just around the corner. What better way to welcome that season than starting with a treat the Bee’s will surely love. This weeks Cooking with Scott we will be making the Bee’s Sneeze Nuggets, while more a biscuit than cookie they are still every bit as delicious. With my sous chef’s all ready let’s dive into this recipe.DSC_0635.jpg
For me the nice thing about this was I finally could use the lemons from my tree that were just asking to be picked. I also got to break out a locally made honey. If there is one thing I love is not having to go to the store or supporting local small businesses.
For me it was easiest to get out several bowls and compartmentalize these ingredients. In our first bowl we are going to whisk together the flour, baking powder, and pepper.

DSC_0632.JPG
With that done in a second bowl zest your lemons and hand mix with the sugar and salt to get a nice aromatic scent, then add in your grated ginger.


In the last bowl use this for your wet ingredients. Whisk together your freshly squeezed lemon juice, lemon extract, alcohol, olive oil, and honey.


Put your sugar mixture into your bowl of dry ingredients and mix them together with a fork until incorporated.DSC_0638.JPG 
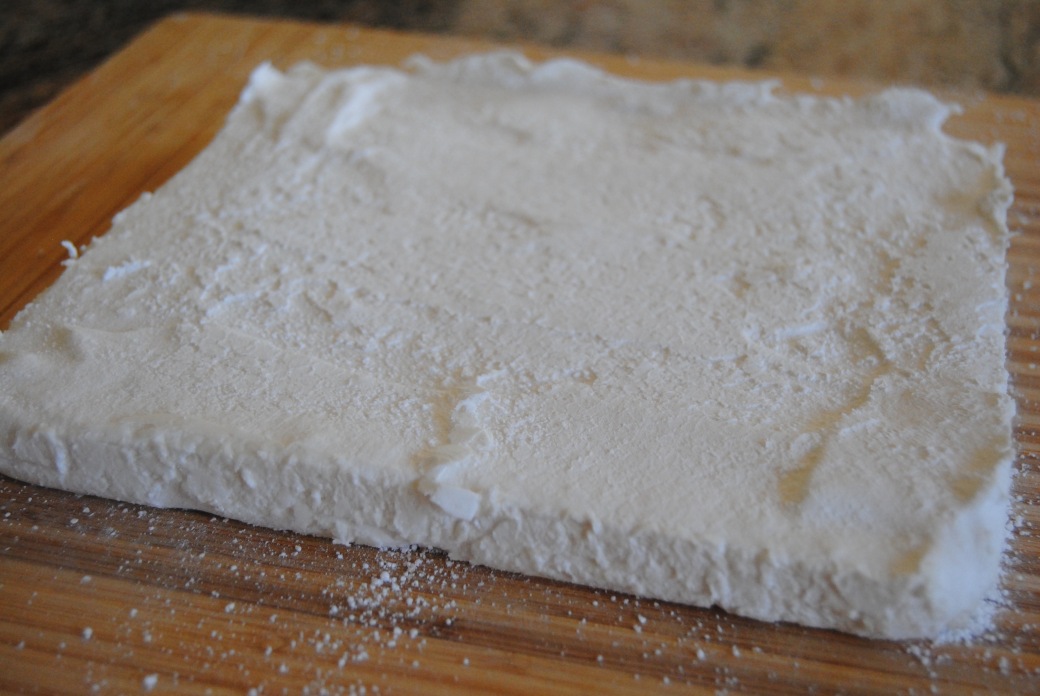
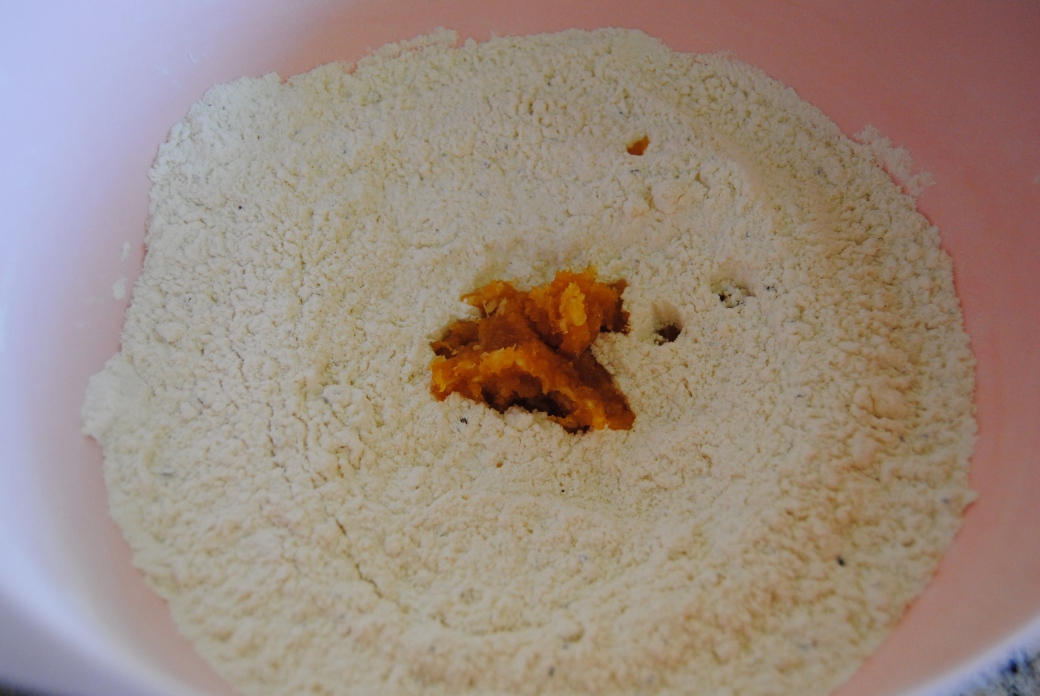
Once mixed create a hole in the center of the mixture and pour in your wet ingredients. Stir your dry ingredients into the wet until you have a spongy consistency. You can then fold the dough several times, just be careful not to over work it.

DSC_0639.JPG
Flour a cutting board and put your dough on top of it. Add a small amount of flour to the top and shape the dough into about a 1-inch thick square shape.

DSC_0640.JPG
Once done cut the dough into small inch cubes, or whatever size you want depending on how many you would like to make. DSC_0641.JPG
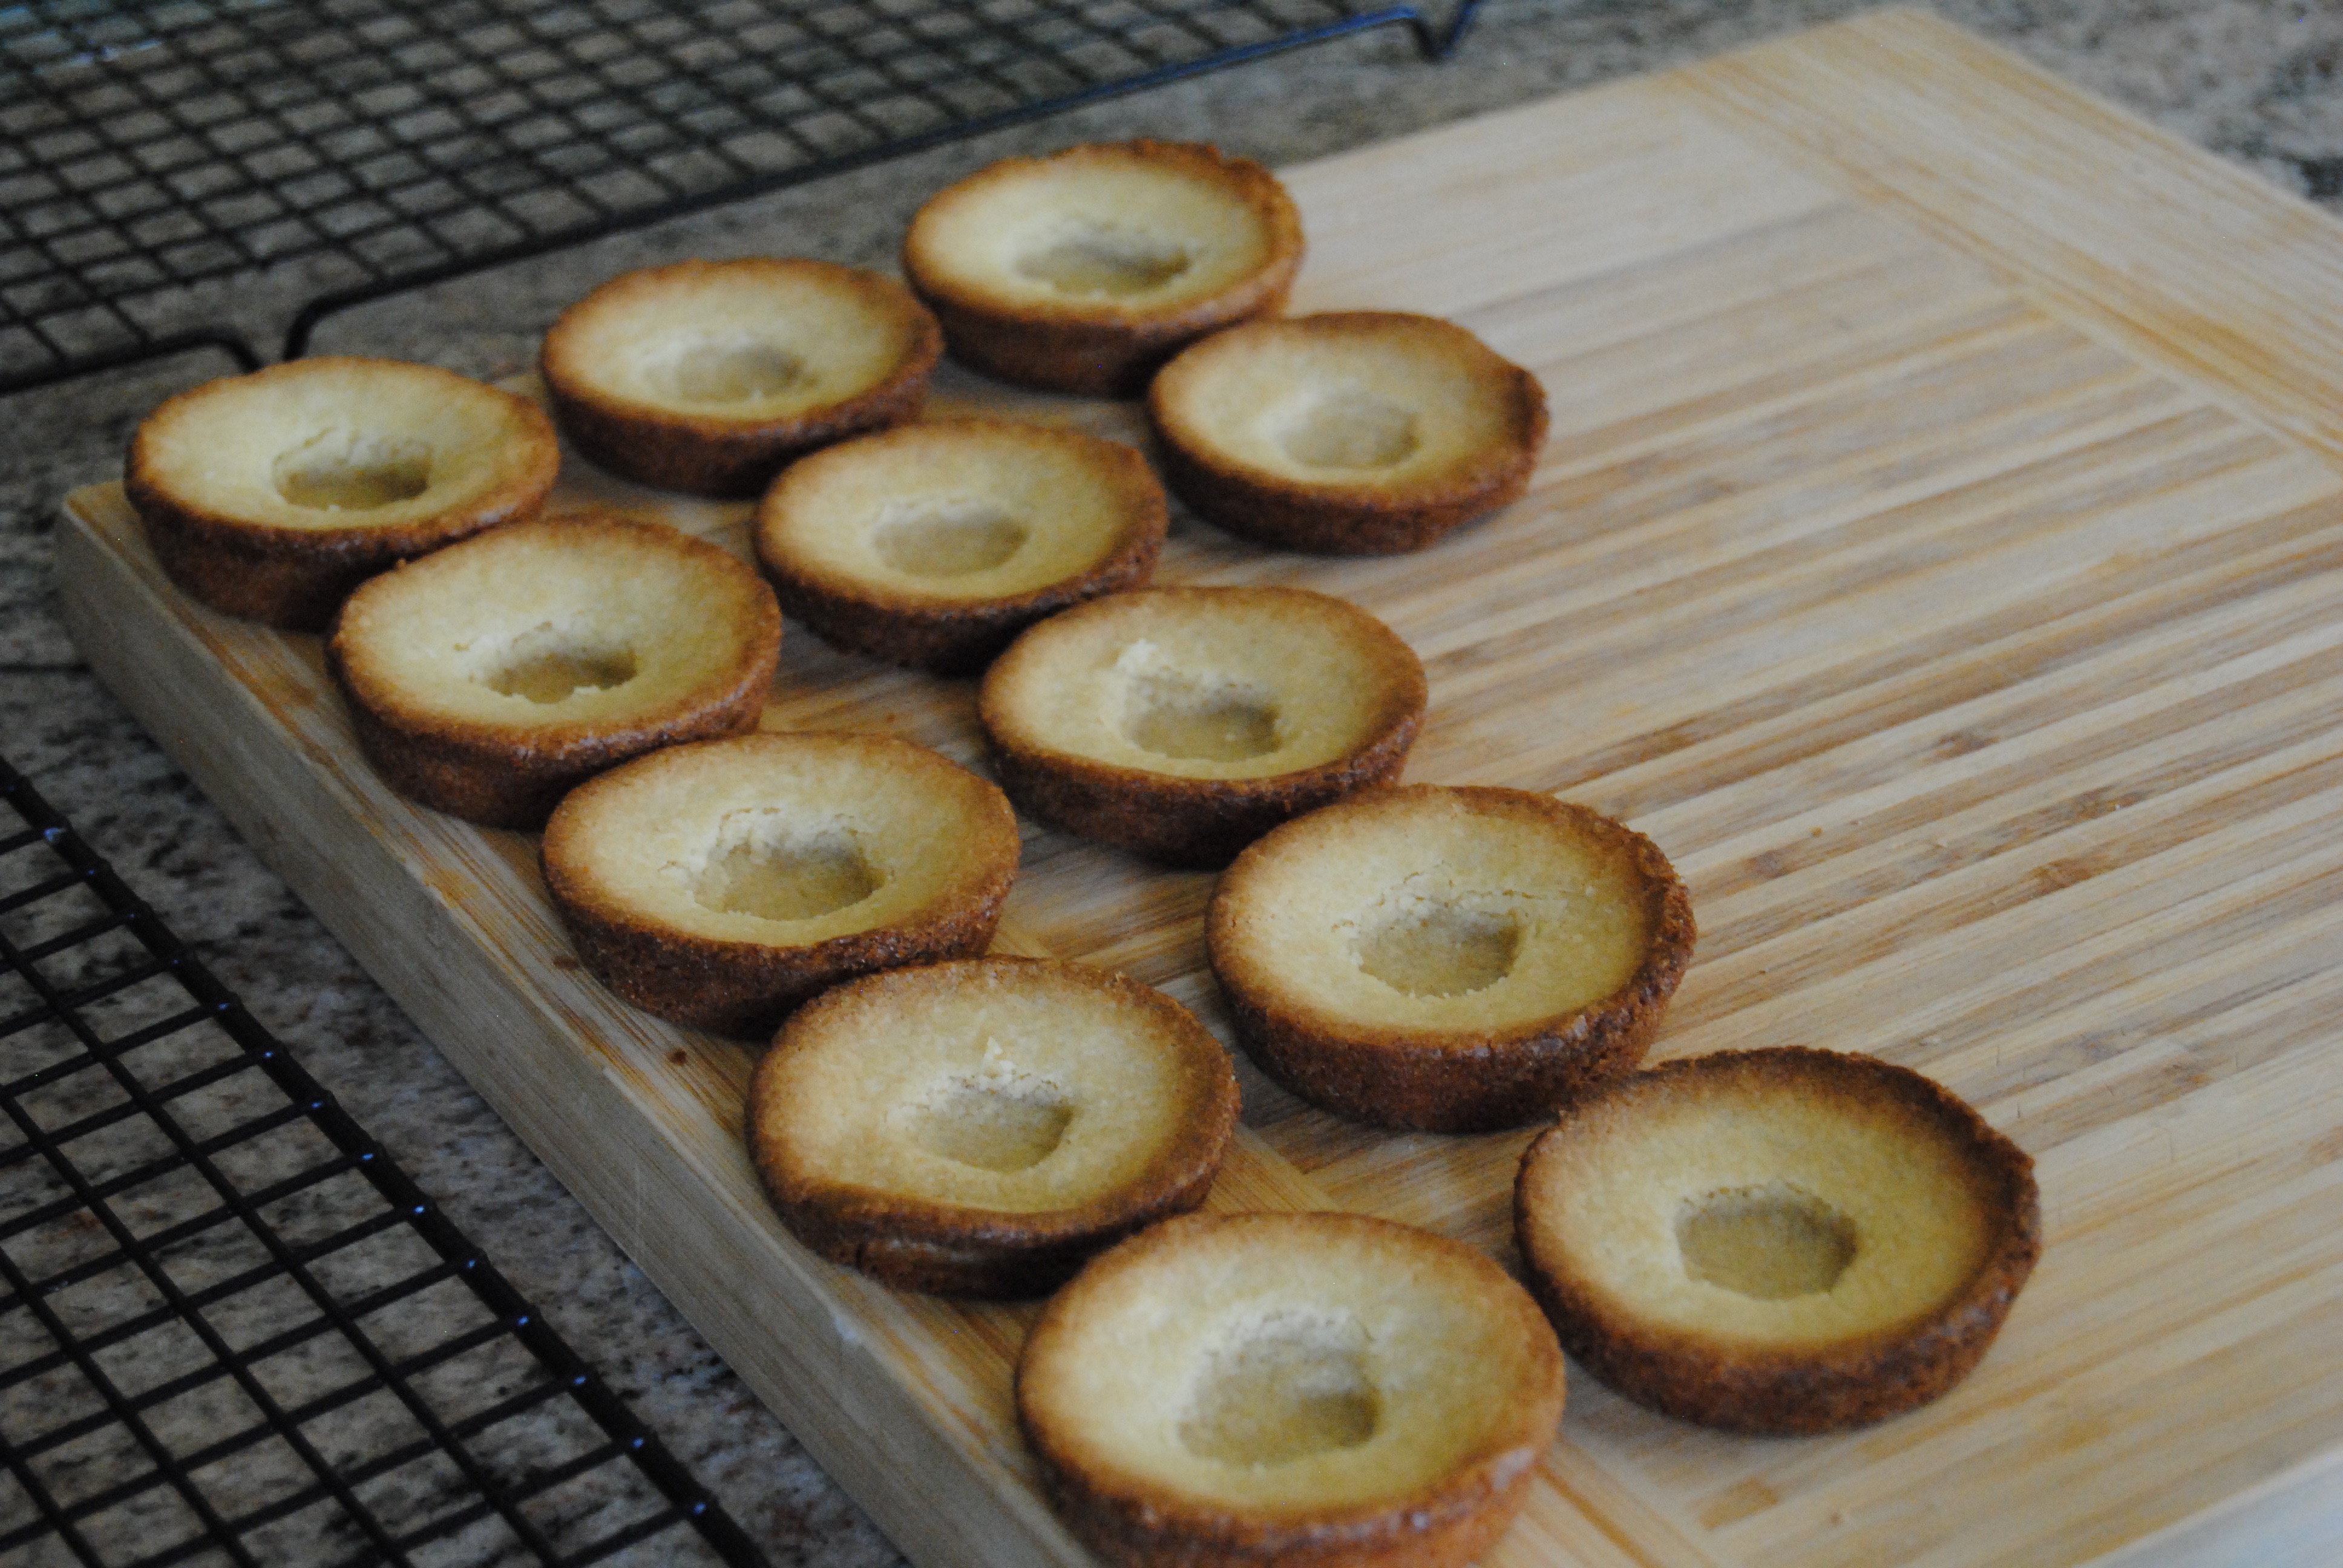
You are then going to bake them for about 30 minutes where the will turn a golden brown, don’t forget to rotate half way through baking. Then let cool and when ready serve with some honey for dipping.


I really liked the flavors in this biscuit. The lemon adds a nice touch and the ginger is not overpowering. I would recommend waiting a day before eating as the biscuit will dry out a bit more.
Well that’s it for this week’s Cooking with Scott. New recipes are on the horizon in March until then enjoys this delicious treat with your friends and family. If you would like the full recipe go to doriegreenspan.com and look under #cookieandkindness, or even better grab a copy of the book turn to any page and start your own cookie journey with us on Tuesdays with Dorie. I am getting hungry as always, so until next time.


Chocolaty Brownie Goodness

February is upon us and the harsh Phoenix winter is behind us. Time for new recipes on Cooking with Scott and what better way to start with some brownies. Not Just any brownies though these are Sebastian’s Remarkably Wonderful Brownies. These were a perfect treat for a dinner party I went to, and I was glad to let others share.
To start make sure you find a real good cocoa powder, this is what will give these brownies there chocolaty taste. Start by sifting your cocoa powder and flour together in a separate bowl.


Break out your stand mixer because it will be easier than a hand one. As always, I turned to my trusty Kitchen-Aid one. For the amount I use it you can’t beat the value and reliability of it.
In your bowl add in your room temperature butter, sugar, and salt and paddle mix it all together. Right as it comes together add in your vanilla and mix that in.DSC_0069
Once that is done scrape down the sides of the bowl. Change out your paddle attachment for your whisk attachment and then add in your eggs. Blend on high for a few more minutes then remove from the mixer.


Combine in your dry ingredients by folding them in. Sadly, the light color does not last and that is ok. The more your mix the heavier and harder it is, so make sure you are using a good spatula and getting down to the bottom of the bowl.DSC_0073.JPG
Using a 9 x 13 pan butter up the sides really good and dust with a coating of cocoa powder. Cut and lay a piece of parchment paper on the bottom, it will come in handy when you go to take them out. Pour in your batter and bake for about 40 minutes.


That’s it nothing fancy or hard with this one. The cocoa makes these are a rich, chocolaty dessert that is soft and delicious. Grab your glass of milk sit back, and enjoy. Just make sure you share. Your friends and family will be glad you did.

DSC_0083
That wraps up this week’s Cooking with Scott. Be on the lookout for other great desert recipes over the rest of this year that your friends and family are sure to enjoy. If you would like the full recipe go to doriegreenspan.com and look under #cookieandkindness, or even better grab a copy of the book turn to any page and start your own cookie journey with us on Tuesdays with Dorie. I am getting hungry as always, so until next time.

A Cookie that’s a Brownie

Cooking with Scott was buy in the kitchen this weekend whipping up this week’s delicious treat. While technically a cookie this was more like a brownie. It was a scrumptious treat either way and well worth the mess it made. This is one that is definitely worth the share.
There really is nothing fancy about these cookies or how to make them. A simple cookie sheet with a good silicone mat is the best way to make them, but parchment paper works just as well.
I used Bing cherries in mine. They added a nice tar t flavor to the cookie that added a nice touch, but you can use what ever you like. Just go ahead and chop them up and soak them in warm water while you prep the other ingredients.
I always find it best to start by whisk the dry ingredients first and setting them aside. In this case put your flour, cocoa powder, and other ingredients in a bowl.DSC_0216
Making a double boiler put your butter and half your chips in an melt them together. Just be careful to not over do it burn it, or cause it to separate.


Go ahead and combine the rest of your ingredients together in a bowl and set it to the side with your dry ingredients.DSC_0218
Now comes the fun. Break out your stand mixer with a whisk attachment and add your eggs and sugar and whisk for about 5 minutes. For me the only way to go is with my Kitchen Aid stand mixer. It is a highly reliable kitchen tool.DSC_0220
Once your eggs and sugar are ready and with the blender still on mix in your melted chocolate. DSC_0222

Once mixed turn off the mixer and then fold in your dry ingredients. After they are incorporated go ahead and put in the other bowl of cherries, chips, and cashews. Stir really well, and get everything on the bottom.


I didn’t have a large scoop, so I used my big spoon again and laid out all my cookies. Using a round bottom glass covered in saran wrap just press those mounds down to about 2-inch circles.


Bake for about 11 minuets and then remove. You can tell they are about done because the tops will start to crack. If they are gooey don’t worry. You are going to leave them on the cookie sheets for about 30 minutes to set up before you remove them. That’s it.DSC_0230
Grab your glass of milk sit back, and enjoy. These are chewy, delectable treats that melt in your mouth and on your hands.DSC_0232

That wraps up this week’s Cooking with Scott. Be on the lookout for other great desert recipes over the rest of this year that your friends and family are sure to enjoy. If you would like the full recipe go to doriegreenspan.com and look under #cookieandkindness, or even better grab a copy of the book turn to any page and start your own cookie journey with us on Tuesdays with Dorie. I am getting hungry as always, so until next time

Marshmallows and Cocoa

Welcome to a special edition of Cooking with Scott. This week I have ventured out and partnered with goldenlifephx in a joint venture of baking awesomeness. This week she made hot chocolate from a Dorie Greenspan recipe. So, we came up with a slight twist for this. What goes better with hot chocolate that marshmallows?
For my part I utilized a marshmallow recipe from Joy the Baker. There is nothing fancy about this recipe and if I can make it any one can.
Start by greasing an 8 x 8 and making sure it is well coated with powdered sugar.

DSC_0172Then, break out your stand mixer with whisk attachment. Thankfully as always, I have my reliable Kitchen Aid mixer for this. Put in your cold water and gelatin, and set this aside to rest while you work on the next part.

DSC_0173
While your gelatin rest break out your saucepan. Add in the sugar, corn syrup, salt and water and heat it up. Stir this until the sugar dissolves, then set in your candy thermometer and heat till 240 degrees.

DSC_0171
Once you have that done turn your mixer on, and then slowly add in the sugar mixture. To fast will cause splashing and unnecessary spatter. Once it is all in turn your mixer to high and mix until you get a think white texture.


Here’s the fun part. If you want add vanilla, coconut, food coloring, or anything you like to get different colors and flavors. When you do this blend it for another few minutes.
With the bowl cool to touch wet a spatula and scrape the mixture into your pan. Smooth the top with the spatula, coat with powdered sugar and let your marshmallows rest for at least four hours.

I actually waited over night to remove mine from the pan. When you remove them from the pan and cut them, toss them in more powdered sugar to avoid stickiness.

DSC_0210
From there use them as you please. These sweet treats went great with the hot chocolate. As they melted it added an extra richness and frothiness to the hot chocolate, It was smooth, rich, and delicious. To find out more about this delicious cocoa and see the final product, head over to goldenlifephx and give her blog a look.


Well that is it for this week’s Cooking with Scott. Be on the lookout for other great desert recipes over the rest of this year that your friends and family are sure to enjoy.